How to Illustrate a Children’s Book: Make a Picture Book Dummy (Part 2)
WRITTEN BY ABI CUSHMAN
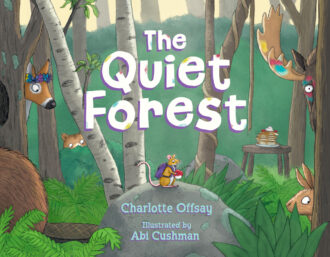 In my previous article, I talked about how I got started with the illustrations for The Quiet Forest, a funny picture book written by Charlotte Offsay where a forest full of animals gets disrupted by one mischievous mouse.
To recap, I started by simply doodling directly on the manuscript to brainstorm ideas. Once I had ideas of the characters and scenes, I moved on to making thumbnail drawings to figure out the page layouts and page turns.
Now, I’m going to share the next step in my illustration process: making a picture book dummy. A picture book dummy is a rough mockup of the actual book. Making a picture book dummy is useful because then you can see the page turns in action.
Step 3: Make a small picture book dummy
Some illustrators share their initial thumbnails with their editor and art director. I felt like there was so much action and scenery going on in the story that my thumbnails really wouldn’t be clear enough to comment on by other people.
So I made a small dummy by folding some letter-sized paper into quarters. This way, the editor and art director would be able to see how I was envisioning the characters, the action, and the layout, but I was still drawing everything pretty small.
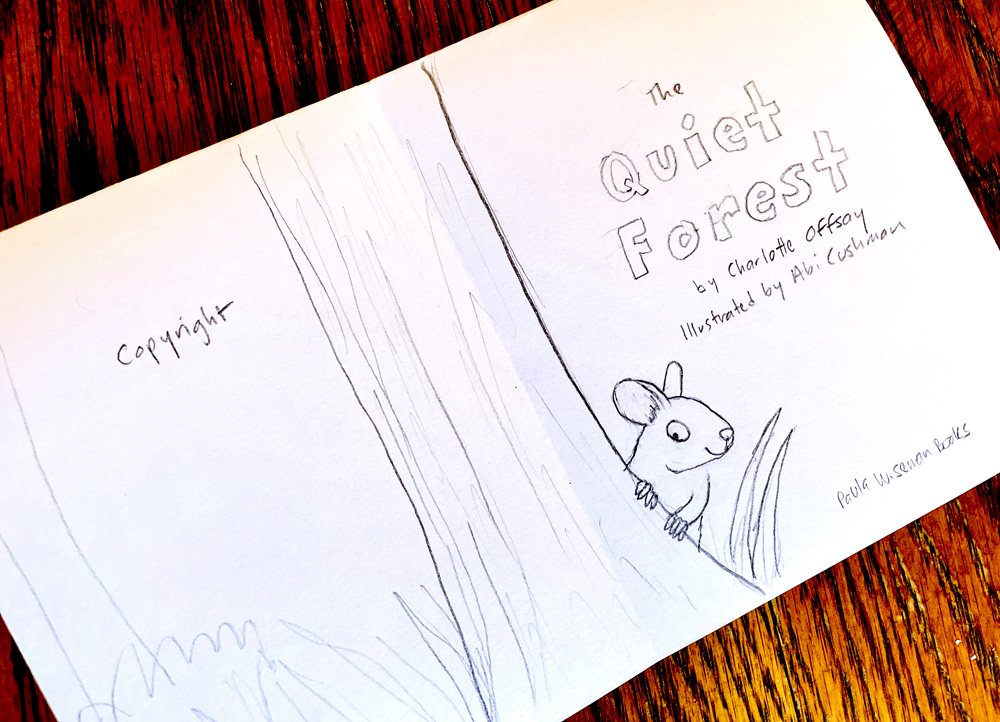
Step 4: Make a full-size picture book dummy
Once I had drawn everything in, I decided to scan all the images and enlarge them so I could place them into a full-size dummy. I wanted to see how much space the text would take up so I’d have a better idea of how much room to leave in the art. I used Adobe InDesign to place the images and text, and I made the page size 8×10 inches.
Note: This might not be necessary at this stage if your text is pretty sparse, but in this case, I felt like it was important to see the full text in the page. You might prefer to show your editor and art director your thumbnails or small picture book dummy first before making a full-size dummy like I did.
Here’s how the manuscript started:
Deep in the woods—
a mouse wanders alone.
A mischievous mouse, in a quiet, nothing-to-do forest.
Until…
the mouse spies a rabbit.
Splat.
Thump.
Splat.
Thump.
And here’s how I proposed the opening illustrations in this first draft:
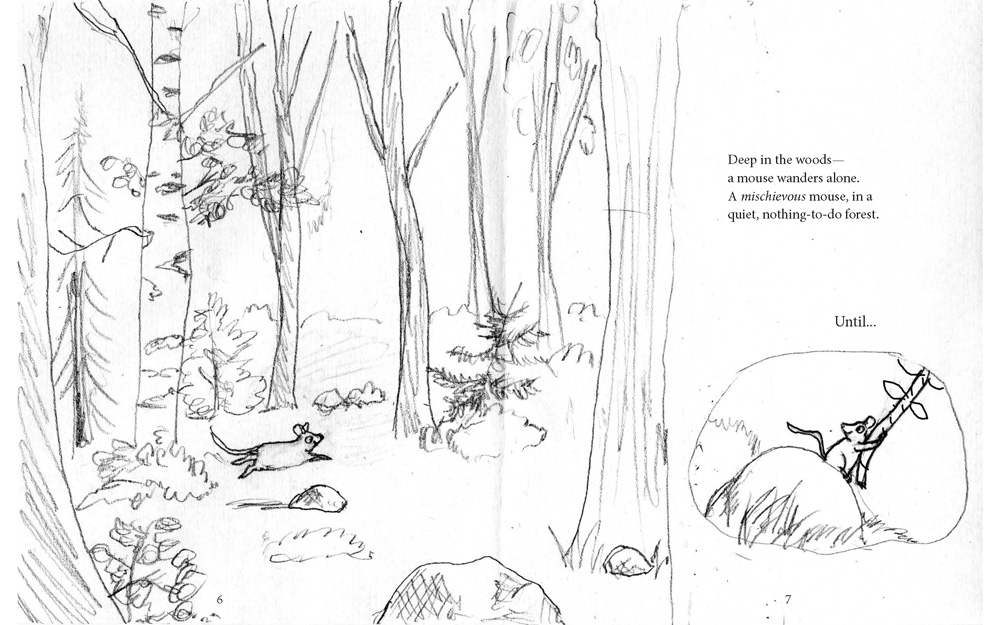
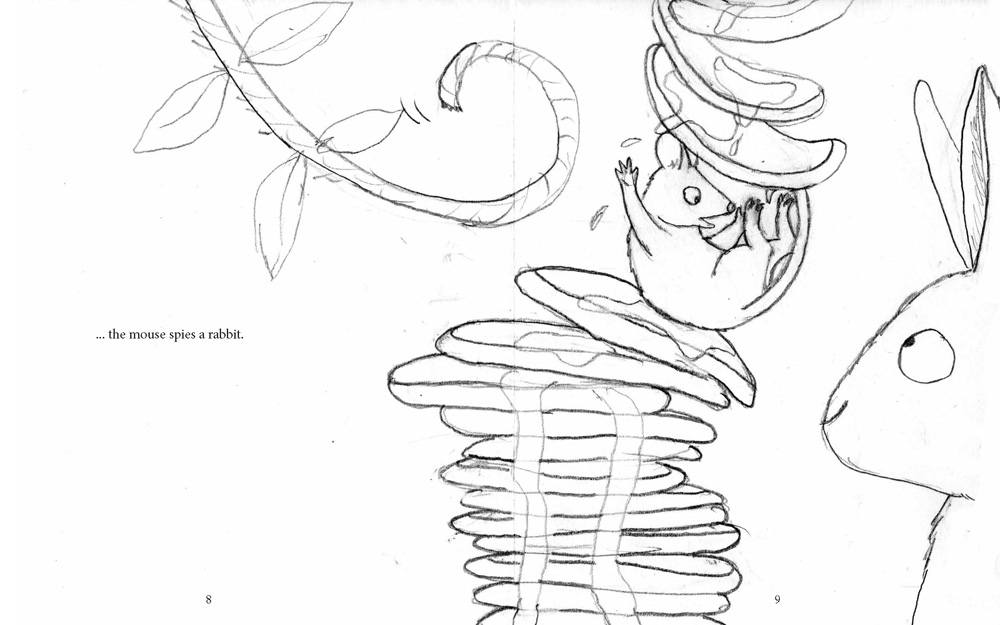
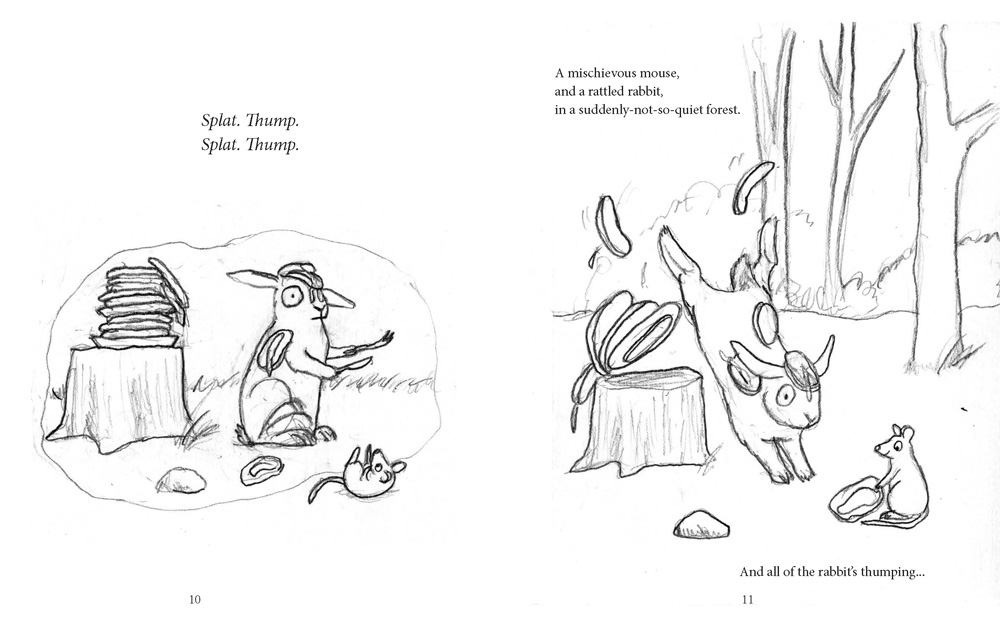
As you can see, I was given the freedom to tell a lot of the story in the pictures. What goes splat? Ketchup? Toothpaste? Ice cream?
There were so many things that could go splat and start the chain of events that would ultimately cause complete chaos in the forest. I chose pancakes because I thought it would be fun visually. But the possibilities were endless!
So now the question remains: how much of my first attempt of illustrating the story did the editor and art director actually like and want to keep? Find out in my next article, when I share… dun dun dunnnnn!… the REVISION stage!
More Illustration Tips
- How to Illustrate a Children’s Book: Getting Started (Part 1)
- How to Illustrate a Children’s Book: Revise the Sketches (Part 3)
- How to Illustrate a Children’s Book: Make the Final Art (Part 4)
- Make Your Children’s Book Illustration Portfolio Unforgettable
Share this Article:
